Showing posts with label Recipes. Show all posts

Thursday, October 27, 2011

Fall Flowers and Foliage


I love flowers.  Sadly I don't have much blooming in my garden this Fall.  Every other year I've had a plethora of hydrangeas to pick but they just didn't bloom this year.  According to my mom, the master gardener, landscape designer...my old fashioned hydrangeas were cut back too far last winter.  Because they bloom on old growth, and the old growth was removed, they produced new foliage but no new flowers.  I am still learning about these things!  So, the dahlias and hydrangeas I used for this arrangement came from my mother-in-law's garden.  She is so sweet to share her flowers and farm fresh produce with us!
Flowers are almost always at the center of my decor in every season.  My little kitchen window sill vases which are filled with little cherry blossoms in the spring and roses in the summer, have been replaced with a collection of old white pottery filled with dried roses. 

My mom brought me this beautiful bouquet of pink and white cone-shaped hydrangeas this morning!  Aren't they amazing?  Just the most perfect shade of pink!  I am anxious to see how they dry!  I'll keep you posted!
In keeping with the flower theme today, I've made some "Fall flower" almond sugar cookies (recipe here).  This is a family recipe and one of my very favorite cookies!  I don't have the greatest frosting skills, but I have fun.
We may not have flowers in the yard this time of year, but we have some beautiful foliage.  This tree has dropped it's lovely yellow and orange leaves all over the lawn.  My husband has been anxious to mow them up, but I've asked him to hold off a day or two...as I am still enjoying them!
Our sweet pup, Basil begrudgingly posed for a photo in the leaves.  I think I'll take the kiddos out for a little leaf photo shoot this afternoon.  It looks like it's going to be a dry, but chilly Fall day...perfect for jumping in the leaves!
 
Thank you for your sweet visit today!  I hope you've had a lovely week!  Enjoy this crisp Fall day and have a wonderful weekend!

Best Wishes and Blessings,
Amanda


Joining these lovely ladies for their fun blog parties...
Debra - Vintage Inspiration Friday at Common Ground
Cindy - Show and Tell Friday at My Romantic Home
Sherry - Home Sweet Home at The Charm of Home
Courtney - Feathered Nest Friday at French Country Cottage
Honey - Potpourri Party at 2805

Vanessa and Heather - Inspiration Friday At the Pickett Fence
Beverly - Pink Saturday at How Sweet the Sound

Monday, July 25, 2011

Vintage Berry Bowls and Berry Filled Scones

                                        
Do you have a set of berry bowls in your china cabinet?  I find them so charming.  It is seldom that they are used for berries at our house, but we do use them quite frequently.  They work so well for condiments, butter and jam.  And they are great for those of us who are working on eating smaller portions!  A friend of mine went on a shopping spree and collected a set of mismatched berry bowls for herself when she started a weight loss program.  I thought this was a great idea.  Starting a diet is never fun, but an excuse to shop for dishes is always a good thing!
My mother-in-law picked these gorgeous raspberries from her garden this week!
We have a few small blueberry bushes in our yard that are just starting to produce a hand full of delicious berries every few days!  Aren't these pink depression glass bowls sweet?
I love my German berry bowls.  I purchased them on EBay ages ago, at the beginning of my obsession with pink roses!
I just polished this serving spoon along with a lot of mismatched vintage flatware to deliver to the shop this week!  So fun!
I have several favorite scone recipes!  The one I used today is Grandma Johnson's Scones.  What I really wanted to share with you here is this great method for adding fresh or frozen berries to any scone recipe.
Pat your dough into 10" rounds (this recipe made 2).  Add whatever berries you like to the center of the round, leaving about a 2" perimeter.
With floured hands, carefully fold the perimeter up to fully enclose the berries in the dough.  (On a side note, I just found these lovely McCoy mixing bowls at a sale over the weekend!  They look so pretty in my kitchen, but I just can't justify keeping them!  They will be making their way to the shop this week!)
Using a sharp knife, cut the round into 8 triangles.  If you want your scones to be pretty, it's best to clean your knife in between slices.
Be sure to serve your Berry filled scone with whipped cream and more fresh berries!  Yummmm!!!
Don't forget a cup of tea!
I've shared it before, but in case you missed it...this is my favorite little tea set, picked up at an estate sale for $10!  It has no markings.  I took it to an appraisal day at the antique shop and learned that it was German, from the late 1800's and worth $200-$300!  It's probably my all-time favorite estate sale find.  Of course I didn't know just how beautiful it was until I brought it home and washed it!  And if it hadn't been so filthy at the estate sale, I'm sure someone else would have snagged it before I did!  Treasure hunting is so much fun!

I hope you had a lovely weekend!  Thank you so much for your sweet visit today!  I did a little painting over the weekend, a few things I thought I was preparing for the shop but as it turns out they look quite at home in our living room...so I think they're going to stay put for a while.  I'll share soon!  Can't wait to see what you've all been up to! 

Best Wishes and Blessings,
Amanda


Sharing with these fun parties:
Table Top Tuesday at A Stroll Thru Life
Tuesday's Treasures at My Uncommon Slice of Suburbia

Sunday, May 22, 2011

What is it About a Chocolate Chip Cookie?

When I collected my boys from Sunday School this morning, a plate of snickerdoodles was waiting in the lobby of our church.  Both boys immediately devoured a cookie, as did every other child in the vicinity and the plate was quickly emptied!  Minutes later when we passed the plate again, it had been restocked, only this time with chocolate chip cookies.  My biggest little guy fought back tears.  He knew the rule...he had had his one cookie.  "But mom!  Now they have chocolate chip cookies!!!"  What is it about chocolate chip cookies?  There are so many delectable cookie choices out there, but in my humble opinion, and clearly my son's too, nothing beats the classic chocolate chip!

I don't mean to brag, but I get a lot of requests for my chocolate chip cookie recipe.  I'll admit it's a good recipe but I'm not sure it's anything special or unusual.  I sometimes add a few teaspoons of instant coffee which gives it a richer flavor...but not always, as I figure the kiddos probably don't need a shot of caffeine in an already sugary treat.  My husband's friends are so fanatical over my cookies, they swear I have a top secret ingredient.  They were sure it was something horribly bad that made the cookies taste so good...something I would never admit to.  A rumor was started that I put lard in my cookies.  Okay, no offense if you cook with lard...but lard in my cookies - Gross!  No way!  I do believe that the right tools and techniques contribute to the chewy texture of the cookie.  I would love to bake up a big batch to share with each of you, dear friends.  But since that would be sort of difficult to do, I thought I'd share a few tips that I've learned in my many years of cookie baking.  And I'll go ahead and post my recipe too.

I use my kitchen aid mixer with the paddle attachment to mix up the dough.  Your cookies will taste better if you use a pink mixer... wink ;)
I have one baking stone...just one!  It is several years old and obviously very well seasoned.  I use it for absolutely everything!  I think a stone is essential for baking amazing cookies.  I don't think I've ever burned a batch of cookies on this stone.  They come out perfect, every time.
Another baking tool I have found invaluable is a cooling rack.  I try not to let the cookies sit on the stone for more than 5 minutes after they're done baking.  I transfer them to the cooling rack as soon as they are set enough to be handled with a spatula without falling apart.  Allowing them to cool on the rack seems to be a big part of what gives them that desirable chewy texture.  

Recipe:  Yields approx. 2 dozen cookies

Ingredients:
1 cup of butter, softened
2 cups of brown sugar
6 tablespoons of granulated sugar
2 eggs
4 teaspoons of vanilla
1 teaspoon of baking soda
1 teaspoon of baking powder
1 teaspoon of salt
3.5 cups of flour
(optional -3 teaspoons of instant coffee)
1.5 cups of semi-sweet chocolate chips

Method:
1.  Cream the butter with the sugars
2.  Add in the egg and vanilla
3.  Combine the dry ingredients, then add to the butter mixture. 
4.  Stir in chocolate chips
5.  Arrange spoon fulls of dough onto baking stone and bake at 375 for 8-12 minutes.  Know your oven.  Mine seems to bake a little on the cool side.  My cookies are done at exactly 11 minutes..every time!
6.  Transfer to a cooling rack.  Once cookies have completely cooled, arrange them on a pretty plate...and enjoy!

Thank you for your sweet visit!  I hope your weekend was simply lovely!  Cheers to a great week ahead!  Don't forget to bake up a batch of cookies and eat one warm from the oven!  Yummmm!

Best Wishes and Blessings,
Amanda


Sharing With:
Craft-O-Maniac Monday at Craft-O-Maniac Blog
Melt in Your Mouth Monday at Make Ahead Dinners for Busy Moms

Monday, March 28, 2011

Caravan Girl's Game Night

Ever played Caravan?  It's a super fun card and dice game.  I recently joined a group of 12 gals who meet once a month to eat, play and have a fabulous evening together.  This month it was my turn to host!  I had so much fun shopping for the prizes, (with the money collected from the previous month's game!) planning and preparing dinner and dessert, and getting the house ready for the big game night!  Minutes before everyone arrived, I ran around frantically snapping pictures to share with you!

The Prizes = I shopped at HomeGoods, Marshalls and Ross.  It's sure fun to shop with someone else's money!  I bought a variety of gifts for the home and garden.


Set-up = 3 game tables...


The menu...

Super easy and delicious salmon chowder.  Find the recipe here.

Yummy homemade rolls with butter and jam.  Link to recipe here.


Spinach salad with strawberries and poppy seed dressing.  Recipe here.


Vanilla cupcakes with amazing cream cheese frosting.  Recipe found here.


What a fun evening with a great group of new friends! 


Thank you for your sweet visit today!
Best Wishes and Blessings,
Amanda


Linking up with the following fun parties:
Mingle Monday at Add a Pinch
More the Merrier Monday at DIY Home Sweet Home
Life Made Lovely Monday at Blessed Little Nest

Sunday, December 26, 2010

New Christmas Eve Traditions

   I hope everyone had a blessed, cozy, warm Christmas spent with those that they love most dearly!  I sure did!  We hosted Christmas eve dinner here at our house, which was fun and easy.  My husband's family has a long-standing tradition of serving clam chowder for Christmas Eve but because one family member recently discovered a shellfish allergy, we decided to try salmon chowder this year instead.  It was delish!  I managed to snap one good photo of our table all set for dinner that night.  I wish I would have taken more but I was too busy playing hostess to have a full-on photo shoot of the table before everyone sat down to eat.  It was a fairly simple setting but I used a pretty toile topper that I'd made, my Mikasa Italian Countryside dishes, accented with one Grandma's Johnson Brother's Rose Chintz and the other Grandma's Fostoria Kimberly wine glasses.  The boys and I made place cards for the grandparents and Aunty attending that evening featuring their hand prints touched up to look like darling little reindeer (an idea I borrowed from a clever blogger...but I can't remember who it was!  Let me know if you know so that I can give them credit and share a link!)


With all of the meal preparations, gift buying and gift giving, card writing, party planning, Santa visits and everything else to do with the Christmas season, it is easy to lose focus of the true meaning of Christmas.  Our good friends gave us a copy of "The Nativity Story" dvd for Christmas a year or two ago.  I am embarrassed to say that when we pulled it out of the cupboard to watch it this year, it was still in it's wrapper!  I must say, I am so glad that my hubby opened it up and put it in the dvd player last week.  It was such a wonderful portrayal of the first Christmas and reminder of what we are celebrating.  We really enjoyed it and it's now on our list of must-see movies for watching each year at Christmastime!  In fact, I think we'll add it to our agenda for Christmas Eve dinner next year...along with the new found favorite Salmon Chowder!  I highly recommend you pick up a copy of this dvd for your own family if you don't have it already!


That's it for now!  I am hoping to share some pretty things with you later in the week!  I am dreading taking down all of the Christmas decor...aren't you?  The house always looks so stark to me after the tree and all of it's glittery glory goes away.  Maybe if I get busy and make some pretty new throw pillows or get creative with new decor ideas for the mantles, I will get motivated to put away the Christmas stuff.  Surely my fav. bloggers will have some inspiration for me this week!  I'll start seeking that inspiration by heading off to the Show of Your Cottage Party at House in The Roses!  I am also joining in on the fun at Tablescape Thursday at BNOTP.

Best wishes to you all and many blessings!
Amanda

Friday, November 19, 2010

Great Grandma Edith's Secret Family Recipe Reveal!

For years my mom asked her grandmother, my great grandma Edith for her wonderful dinner roll recipe.  She wouldn't budge on her quest to keep it a secret but was happy to provide the buttery towers of goodness whenever requested.  In fact, we would receive a package of rolls in the mail for Christmas every year after we moved away. 

I think I understand why she wouldn't share her prized recipe.  People raved about her rolls for years and looked forward to them at every holiday gathering.  If the recipe was passed around and everyone was making them on any old day, they wouldn't be the coveted "Grandma Edith's rolls" everyone couldn't wait to get their hands on. 

My mom can recall walking into grandma's kitchen and seeing every single surface covered with pans of dinner rolls!  I am pretty sure that as a little girl, I ate several rolls for Thanksgiving dinner and very little of anything else! 

Thankfully she agreed to share the recipe with my mom before she passed away and my mom has since then taken on the role of recipe keeper and roll maker.  Only my mom in addition to a recipe keeper is a recipe sharer!  She has decided that the rolls that we have all enjoyed and loved so much should be shared with other families.  All that we ask is that you title this in your recipe book "Grandma Edith's Dinner Rolls!" 

Before I type up the recipe, I would first like to share a little bit about grandma Edith and some of her collections that have been passed down to me.
My Great Grandma Edith

My first several Thanksgivings were spent at grandma's farmhouse.  When I read in Country Living magazine about the quintessential "vintage farmhouse," I picture the simple white house surrounded by rows of apple trees, beside a full beautiful rose garden and a big old red barn...this was my great grandma's house.  The inside was cozy and warm and full of collections.  The kitchen was everyone's favorite gathering place.  It had large widows looking out onto a covered patio.  Along the windows were built in wooden shelves that housed grandma Edith's collection of nested hens made of glass in a rainbow of colors.  Every time I see one of these hens at an estate sale or antique store I think of grandma Edith and smile!  I am honored to have inherited two of her nesting hens...one in a minty green and the other white milk glass. 

Milk Glass Nested Hen From Grandma's Collection


Along with the white hen, I have grandma's milk glass hobnail collection.  It is usually displayed on our family room mantle in the Spring with my Easter decorations but presently I am trying it out in this vintage cabinet in my bedroom.  The cabinet I found at an estate sale, applied a fresh coat of paint, backed it with fabric and added the vintage crocheted trim.  I like this collection in it because I feel like the cabinet looks like something that might have come out of grandma's farmhouse.  I just added the purple ornaments thinking they would give the collection a bit of a Christmas touch in my purple bedroom.


Several of the pieces of pink depression glass in my breakfast nook hutch were grandma Edith's and they essentially started my pink glass collection.  I find beautiful vintage glass wares on my shopping trips and occasionally treat myself to a new piece but the ones that my great grandma had in her kitchen, treasured and used at her table will always be my favorites!


Grandma Edith was a wonderful cook and a hard working homemaker.  She was up at dawn starting her rolls, tending to the orchards and gardens, cooking, cleaning, canning and whatever else needed done.  For as long as I can remember, she wore acid washed jeans and light weight floral button-up shirts.  She was strong and stubborn but also very kind hearted, thoughtful and caring.  We all miss her very much.

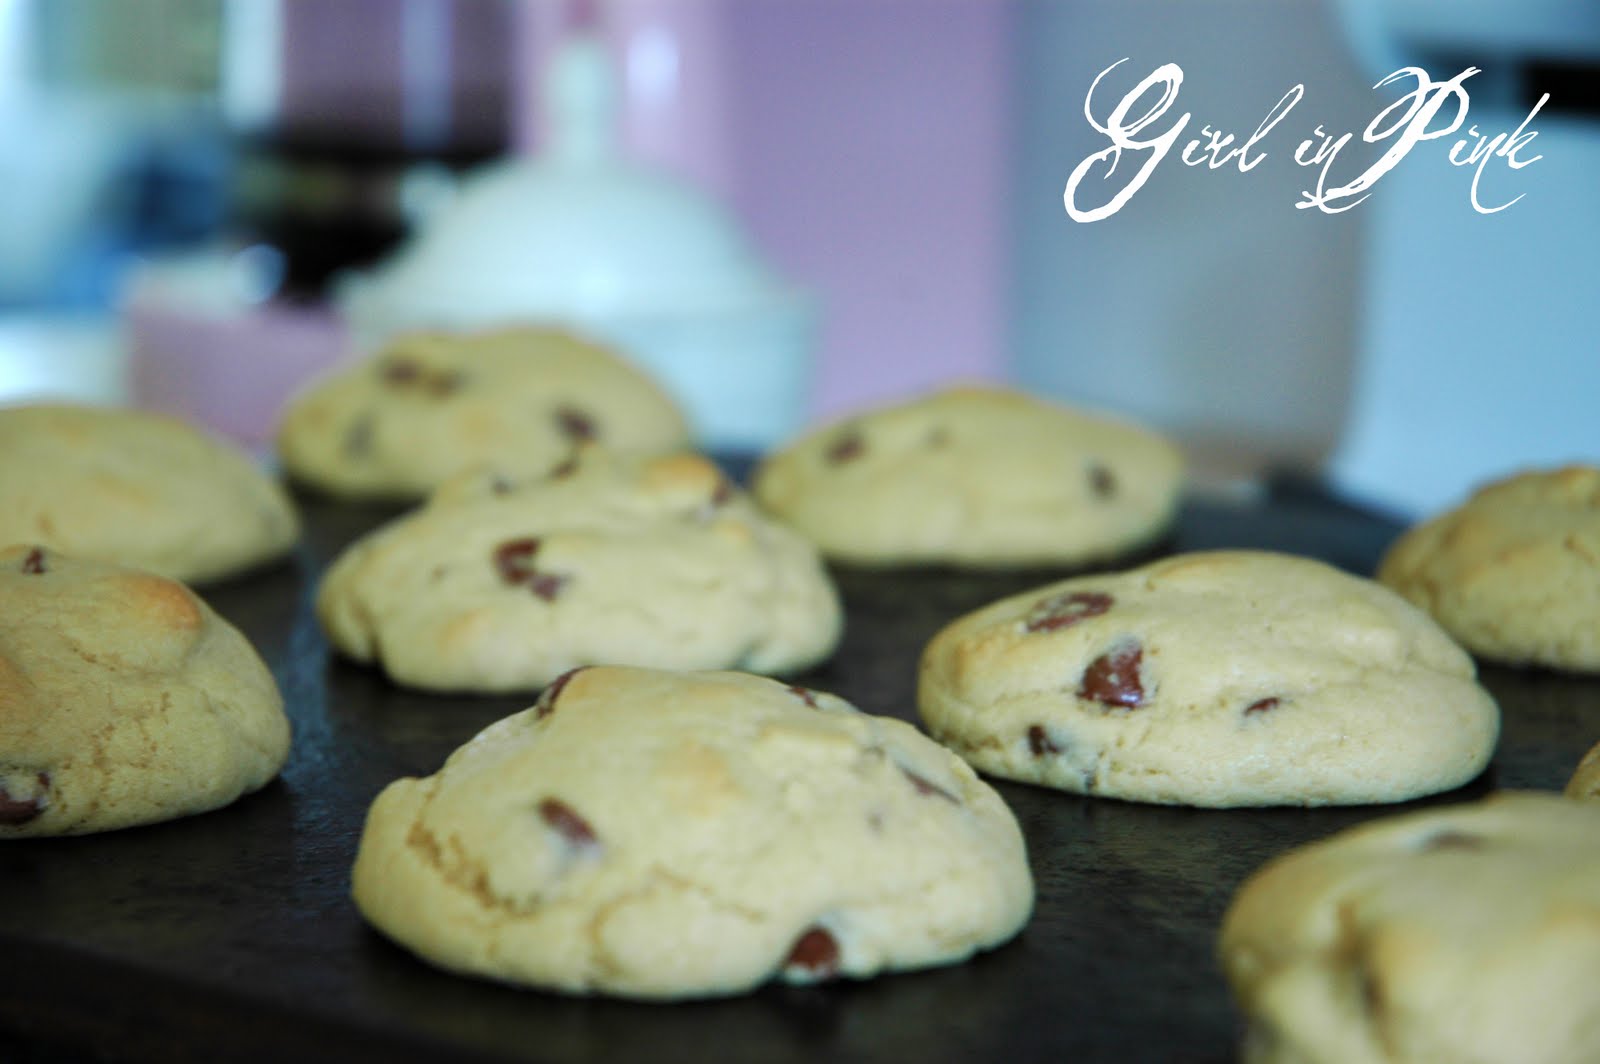
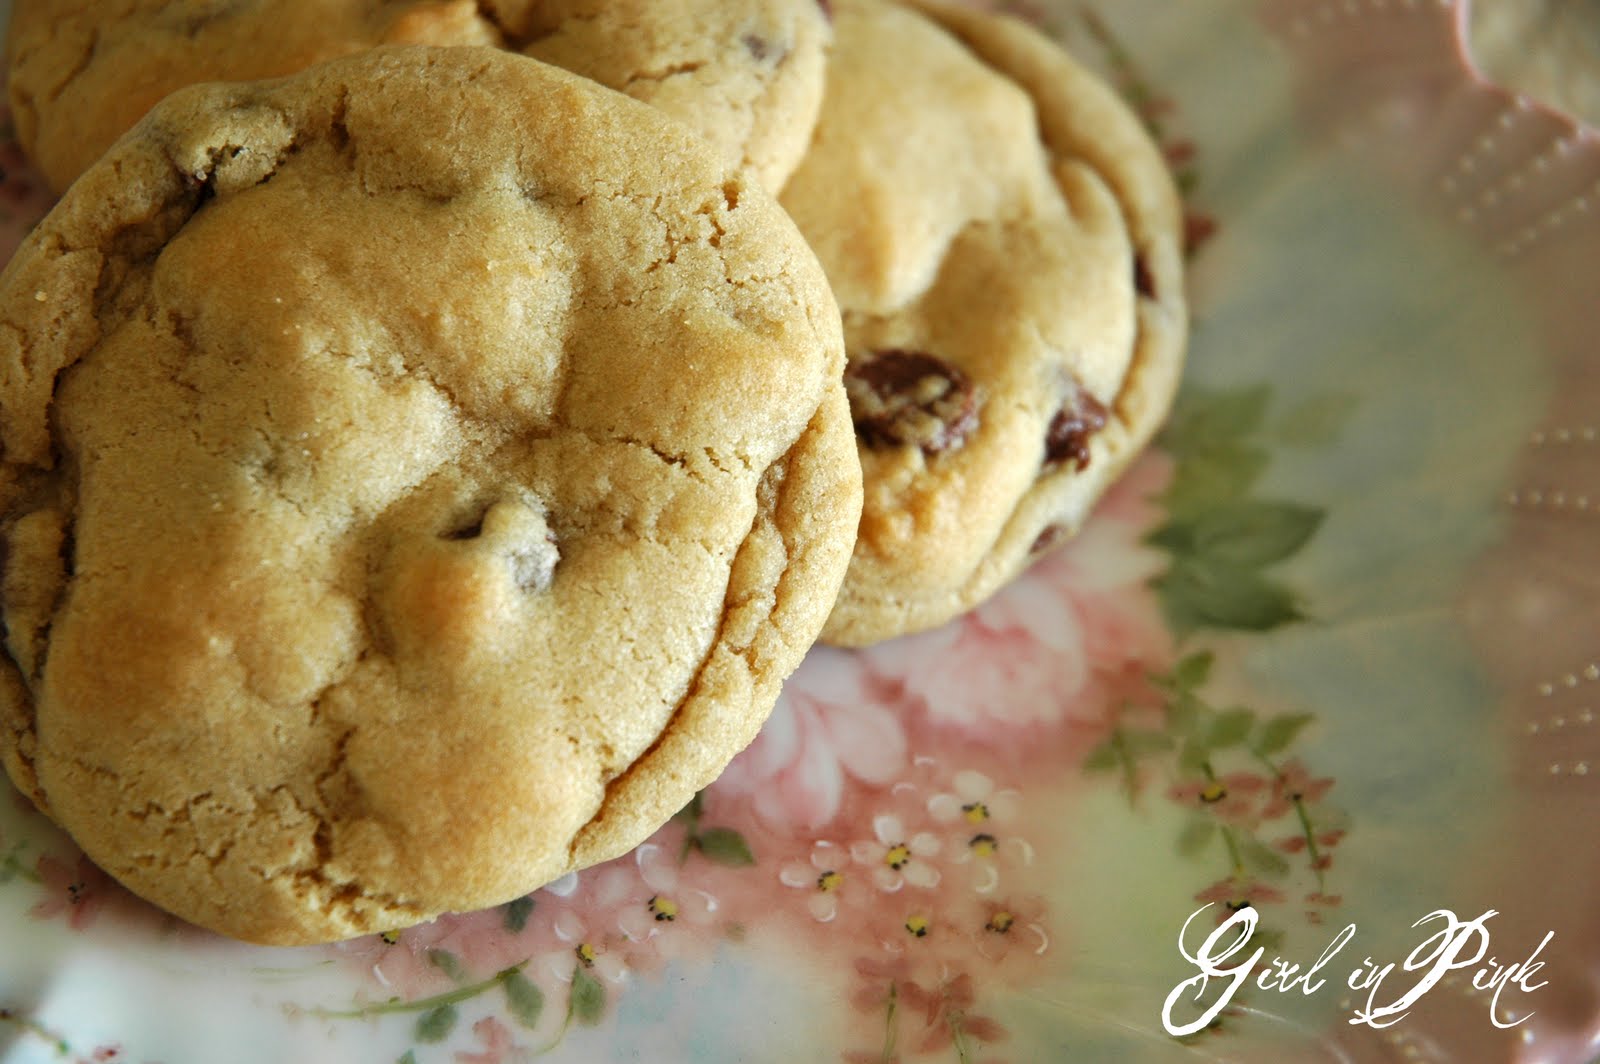
If you are looking for a new sweet buttery roll recipe to try this Thanksgiving, I hope you will give Grandma Edith's a shot!  I have made them myself many times and I am not going to lie and say they are easy!  They are somewhat labor intensive and definitely a plan-ahead project but if you follow these directions exactly, you will have beautiful, swoon worthy rolls that will surely become a tradition for your family gatherings.  Whether you pass the recipe along or keep it to yourself is up to you!

Great Grandma Edith's Secret Recipe Dinner Rolls (recipe written as she shared it from memory)
Bring to a slow boil 3 cups of whole milk, 1/4 cup of vegetable oil, 1 cup of sugar and 1.5 tsp. salt.  Then let cool to room temp. 
Meanwhile, disolve 2 packages of yeast in 1/3 cup warm water with 2 tablespoons of sugar.  Mix this with cooled milk mixture then add 4 well beaten eggs. 
Keep beating while adding about 6 cups of Gold Medal Better for Bread Flour (important to use bread flour). 
When too stiff to stir, work with hands and keep working and adding flour until it is the consistancy of firm dough (not sticky). 
Put out onto a well floured bread board, add flour when sticky.  Knead well...maybe 10 minutes, your arms will be tired! 
Grease with butter a very large glass bowl and form dough into a large bowl.  Let rise until double in size. 
Pinch off a little (golf ball size) and fold into a ball.  Put into a greased 9x12 pan and let rise again until doubled in size. 
Bake at 350 degrees until golden brown on top.  Add a foil tent after 15 minutes, bake an additional 5 for a total of 20 minutes. 
Brush with butter on top when done! 
In addition to Show and Tell Friday and Vintage Inspiration Friday, I am writing today to share in the Give Thanks Party at the Vintage Nest!  Thank you ladies for hosting such fun link parties!  It is always a pleasure to participate!

Thank you for stopping by!  I love visitors and enjoy your comments!  Best Wishes and God Bless!  -Amanda

Wednesday, September 29, 2010

Almond Sugar Cookies, a Family Tradition

Acorns!

I have been on a baking spree over the last couple of days, and I thought I would share a favorite family cookie recipe this evening.  The almond flavor adds a classy twist to the traditional sugar cookie.  These are the cookies my mom baked most often when I was little.  We had a collection of cookie cutters to fit every season/holiday.   I have fond memories of sitting at the kitchen table with my dad, frosting and decorating these cookies for hours!  My dad would spend 30 minutes on one cookie...creating a confectionary masterpiece, to be devoured in 30 seconds.  Over the past several years I have put together my own collection of cookie cutters...a lot of holiday and a bit of randomness too!  My boys love helping make these, especially the frosting part but they also get a kick out of digging through the cookie cutters.  Usually we do something that relates to an upcoming holiday but sometimes I let them get extra creative and we have flamingo or elephant cookies!  ;)

Almond Sugar Cookies

Ingredients
3/4 cup butter (softened)
1 cup sugar
2 eggs
2 tsp almond flavoring
2 1/2 cups flour
1 tsp. baking powder
1 tsp. salt

Directions
Mix butter, sugar, eggs and almond flavoring.  Add baking powder and salt.  Mix well.  Add flour, mix well.  Chill for at least 1 hour.  Bake at 400 for 6-8 minutes after rolling dough to 1/8" thick and cutting into desired shapes.

Frosting
I don't measure when making frosting...just beat butter, powdered sugar and a little vanilla until soft peaks form.  I add a couple teaspoons of cocoa powder to make chocolate frosting.

Enjoy!