Thursday, October 28, 2010

Show and Tell Friday!

I feel like I've been a flaky blogger this week but I am busy working on some fun Christmassy projects that I will be sharing with you very soon!  In the meantime, I thought I would join in on the fun at My Romantic Home's Show and Tell Friday linky party with a few photos of some of my favorite found treasures! 
I found this lovely Bavarian tea set at an estate sale a few years ago.  It was so dirty that I didn't realize just how special it was until I brought it home and cleaned it up!  I actually had it appraised once at an event at the shop...just for fun and the appraiser dated it to the late 1800's and valued it at $300.  I paid $10!


I love this chintz teapot!  I bought it at yard sale from an older woman who said it was her grandmother's!  The spout has been repaired and for this reason the woman sold it to me for $2 !  If you know anything about chintz, you know that even with the repair, this piece is worth so much more than that!  I don't care that it's not usable...I enjoy having it in my curio to gaze at now and then...it's just so pretty!

This is my favorite teacup!  It was my husband's grandmother's and the stamp on the bottom states that it was commissioned for the birth of Princess Margaret.

I have quite a collection of Johnson Brother's Rose Chintz china.  This set is so precious to me as it belonged to my grandmother and I have such wonderful memories of using it in her home during the holidays.  I miss her so much and I think that she would be really happy to know that her set of dishes continues to be enjoyed by her family.  In fact, I have a hutch and wall in our breakfast nook devoted to  these dishes along with my great grandmother's pink depression glass.


I purchased this little cherub bud vase in a pair almost 10 years ago.  This one was my wedding cake topper!  If I had more time this evening I would track down a picture of our wedding cake and scan it to add to this post.  Maybe at a later date! 

I could go on and on...but it's getting late and those boys seem to keep waking up earlier and earlier in the morning so I think I'd better get to bed!  Goodnight!

Thanks for stopping by!  Best wishes and God bless! -Amanda

Tuesday, October 26, 2010

A Girly Gift For a Girly Girl

Vintage sheet music is fun to use as gift wrap for small, special packages!


A little girl we love had her 6th birthday this week.  Her mother had told me a week or two before that when asked where she wanted to go for her birthday, this sweet little girl replied, "Camas Antiques!"  How adorable is that?  When I heard that she was loving to dress and decorate with anything vintage and feminine, I thought of what fun I would have putting together a birthday gift for this little one!  I sure did have a lot of fun...right down to the pretty packaging, because you know she will be all about the presentation!  Not that I don't love buying gifts for my boys, but they don't exactly appreciate a prettily wrapped gift the way a little girl does!  Here are the sweet little packages, followed by a peek at a few of the treasures wrapped up inside...

I found this pretty, shiny pink gift wrap at the DollarTree of all places!

Dried roses and bits of lace trim  make for a pretty topper.


I found this sweet 1920's dress pattern clip at The Graphic Fairy Blog!


This sweet little pearl necklace with heart pendant was an estate sale find!


Another estate sale find....vintage clip-on earrings for dress-up fun!


Handmade flower headband.

Another handmade hair pretty clipped to a pair of delicate white vintage tea party gloves!
  Please visit The Graphic Fairy to see how others are creating beautiful things with the amazing free graphics offered there!  Thanks for stopping by!  Best Wishes and God Bless!

Thursday, October 21, 2010

Ruffles, Roses and Rhinestones - A Rocking Chair Makeover


My dear friend Judy gave me this little rocker several months ago.  She suggested it needed paint and as she was in the process of clearing out her space at the antique store, it seemed that she didn't need anymore project pieces lying around her home.  So, she was generous enough to pass this little piece,  packed with potential on to me!  Thanks again, Judy!  I was happy to add it to my collection of "projects in process" - a collection my husband wishes would disappear out of his garage.  During one of our recent lovely sunny Fall days I finally got started...dragged the little rocker out into the backyard and sprayed it an "heirloom white."  Next, it got the "distressed" treatment.  And finally, today I finished up the little ruffled cushion and throw pillow.   

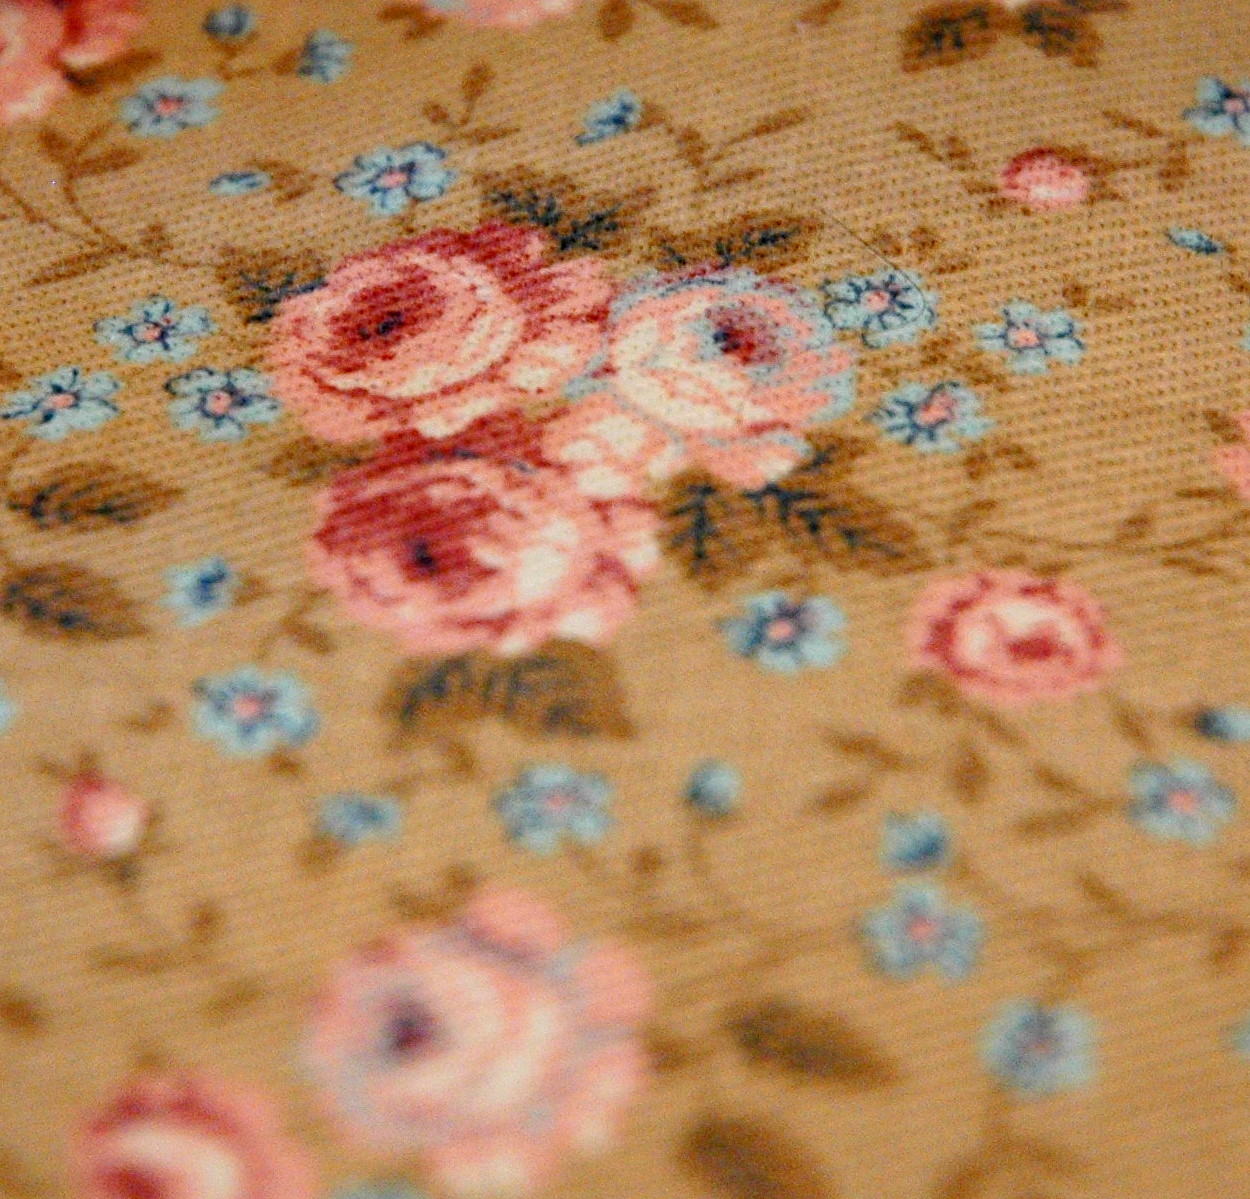
Believe it or not, I found this pretty rose chintz fabric at an estate sale!  I've already made several things with it and have plenty more for future projects.  I just love the soft colors and delicate little roses and forget-me-nots.


I will be adding this little darling to my space at the shop this week.  I hope it finds a good home with a little girl who will truly enjoy it!

I have a girlfriend who has given new live to numerous tired little wooden rocking chairs.  Working on this one reminded me of her and took me down memory lane to the days when we did holiday bazaars together!  She would bring several little rockers to add to our inventory of shabby Christmas crafts and they were always the first items to fly out the door!  In fact, they usually sold to other vendors before the bazaar even started!  I thought it would be fun to post a pic from one of our shows, circa 2006!  I hope Nicki doesn't mind my sharing...
We had so much fun crafting and selling our girly creations!

I am linking this post up to My Romantic Home's Show and Tell Friday as well as Common Ground's Vintage Inspiration Friday.  If you have a minute, check out Ms. Cindy's page to see more Show and Tell posts from other bloggers, or Ms. Debra's for some vintage inspiration!  Better yet, join in the fun and add your own post!  Thank you for stopping by!  Best Wishes and God Bless!  -Amanda

Tuesday, October 19, 2010

A Bedroom Vignette for White Wednesday


I am joining in the fun of White Wednesday at the Faded Charm Cottage with some photos of a corner of my purple bedroom!  Yes, a purple bedroom for White Wednesday!  As you can see, my purple room is accented with lots of white and cream.  I recently added this little desk to our master bedroom and had fun decorating around it.   

A cozy little vintage inspired desk to sit at and read, pick out and put on jewelry or write a note.  (Who am I kidding?  It will be piled up with stacks of laundry in a day or two!)

I picked up this vintage hat at an estate sale.  Unfortunately it doesn't actually fit my head, (I am beginning to think that women in the 40's and 50's had smaller heads) but I sure love the floppy white roses and how the colors compliment my purple walls.


Who says teacups are just for sipping tea?  I use my violet cup collection in this pretty iron stand to hold and display jewelry!


I love having my wedding tiara out where I can see and enjoy it everyday.  Every now and then I slip it on just to feel regal...I think every toilet-scrubbing, nose-wiping, over-worked mom should have a tiara!

Thank you for stopping by!  Don't forget to visit Faded Charm Cottage for some pretty White Wednesday inspiration!

Call Me Crazy, Lazy or Just Nostalgic.


I started doing some serious sanding on this cute little table yesterday (feeling super cool with my power tools!)  I planned to give this one my standard treatment...a few coats of cream paint and a little distressing.  Well, a little distressing turned into a lot more than I'd planned when I starting seeing the layers underneath the cream paint!  At one time the table top had been a dark wood with some kind of neat gold tole painting on it. 

On top of that layer was a white paint with some cute green flowery stenciling.  Sooo...I revealed a bit of the previous owner's handy-work in a few different places and decided to deliver it to the shop for my display just like this.  I guess you could call it laziness...the fact that I didn't continue to sand and then repaint the whole table.  But I really was liking the look and the idea of showing off the history of the piece.  Obviously the previous owners of this charming little table were crafters and I think this table, as is would be a great crafting table in the right shabby, vintage style creative studio. 

Saturday, October 16, 2010

Weekly Words to Live By

Once again I am happy to participate in Weekly Words to Live by at Notes from a Cottage Industry and  again I've chosen a quote from the lovely Audrey Hepburn...


"Pick the day. Enjoy it - to the hilt. The day as it comes. People as they come... The past, I think, has helped me appreciate the present - and I don't want to spoil any of it by fretting about the future." 

Well said, Audrey!

Friday, October 15, 2010

Charming Wrist Pin Cushion Tutorial

I love Project Runway, and though I am not a fabulous seamstress or fashion designer, I do a fair amount of sewing and decided I needed one of those wrist pin cushion thingies like the designers use!  I played with a few ideas that were bouncing around my head, spread out my fabrics, trims and supplies, and this is what I came up with.  The first one I made was cute but when I started using it, I realized it wasn't practical (or safe!) because I kept stabbing my wrist with the pins!  I've since added a metal canning lid to the same design to protect myself from being poked.  Here you will find the step by step instructions on how I made my pin cushion...


Tools and Supplies:
sewing machine
hot glue gun
scissors
standard needle & thread
embroidery thread & appropriate needle
tape measure
an approx. 3.5" diameter glass or jar for tracing
approx. 6" of 1/4" elastic
2.5" canning jar lid
small amount of fabric - 3x 3.5" diam. circles
1 coordinating button or bead
handful of fiberfill or batting
optional lace, ribbon, trim

Step 1:
Use your 3.5" glass or jar to trace 3 circles onto your fabric.  Cut them out.  Right sides together, sew 2 of the circles close to the edge, leaving a small opening.  Turn right side out and iron.  Stuff this little circle "pillow" with the fiberfill and hand stitch the opening. 
Step 2:
Take a length of your embroidery thread, knot one end and thread the other onto your embroidery needle.  Poke the needle up through the center of your little pillow, wrap the thread around the outside of the pillow tightly and come back up through the center again, creating a dimple in one side of the pillow.  Do the same to the opposite side and continue creating segments.  Once you've made 8 equal segments with your thread, knot it on the underside of the pillow, but don't cut the thread yet.  Use the same needle and thread to sew a button or bead in the middle of the segments.  Knot the thread, but don't cut it yet!


Step 3:
Put your canning lid on top of the wrong side of the 3rd circle of fabric.  With your hot glue gun, make a line of glue in the seal part of the lid and wrap the fabric tightly up over the rim.  Next, carefully use the end of a sharp knife to poke a small hole through the middle of the lid and fabric.  At this time you may also hot glue your ribbon, lace or trim around the canning lid...start at the raw edge of the fabric.  For this one I added a wide grosgrain ribbon, bunching it as I glued.  I later cut the edge of the ribbon to give it the fringed effect.

Step 4:
Thread your embroidery needle through the hole in the canning lid (attaching the underside of the pillow to the raw side of the lid).  Knot the thread onto the fabric on the opposite side of the lid...but don't cut it yet!  Put a few dots of hot glue between the pillow and lid and push them together until they've adhered to each other.  


Step 5: 
To make the bracelet, cut the elastic to the appropriate length to fit your wrist.  At this time you can either cover the elastic with a bunched tube of fabric, leave it as is or add a piece of trim to it as I did.  To add the trim, place your elastic on the trim and use your sewing machine to stitch through the elastic and trim, being sure to stretch the elastic as you sew.  The trim should bunch up after being sewn.  Machine stitch the ends of the elastic together to complete the bracelet. 

Step 6:
Lastly, use that dangling piece of embroidery thread to attach your bracelet to your pin cushion.  Make several stitches between the elastic and the lid fabric and knot your thread and...cut it!  Slip that pretty cushion onto your wrist and gently bend the metal lid to curve around your wrist.  Stick your needle in your cute new pin cushion and prepare to feel like a star designer!

I will be joining in the link party at Tea Rose Home today!  Stop by to see the great works of some very creative peeps!

Thank you for stopping by!  I love having visitors!  Best Wishes and God Bless!